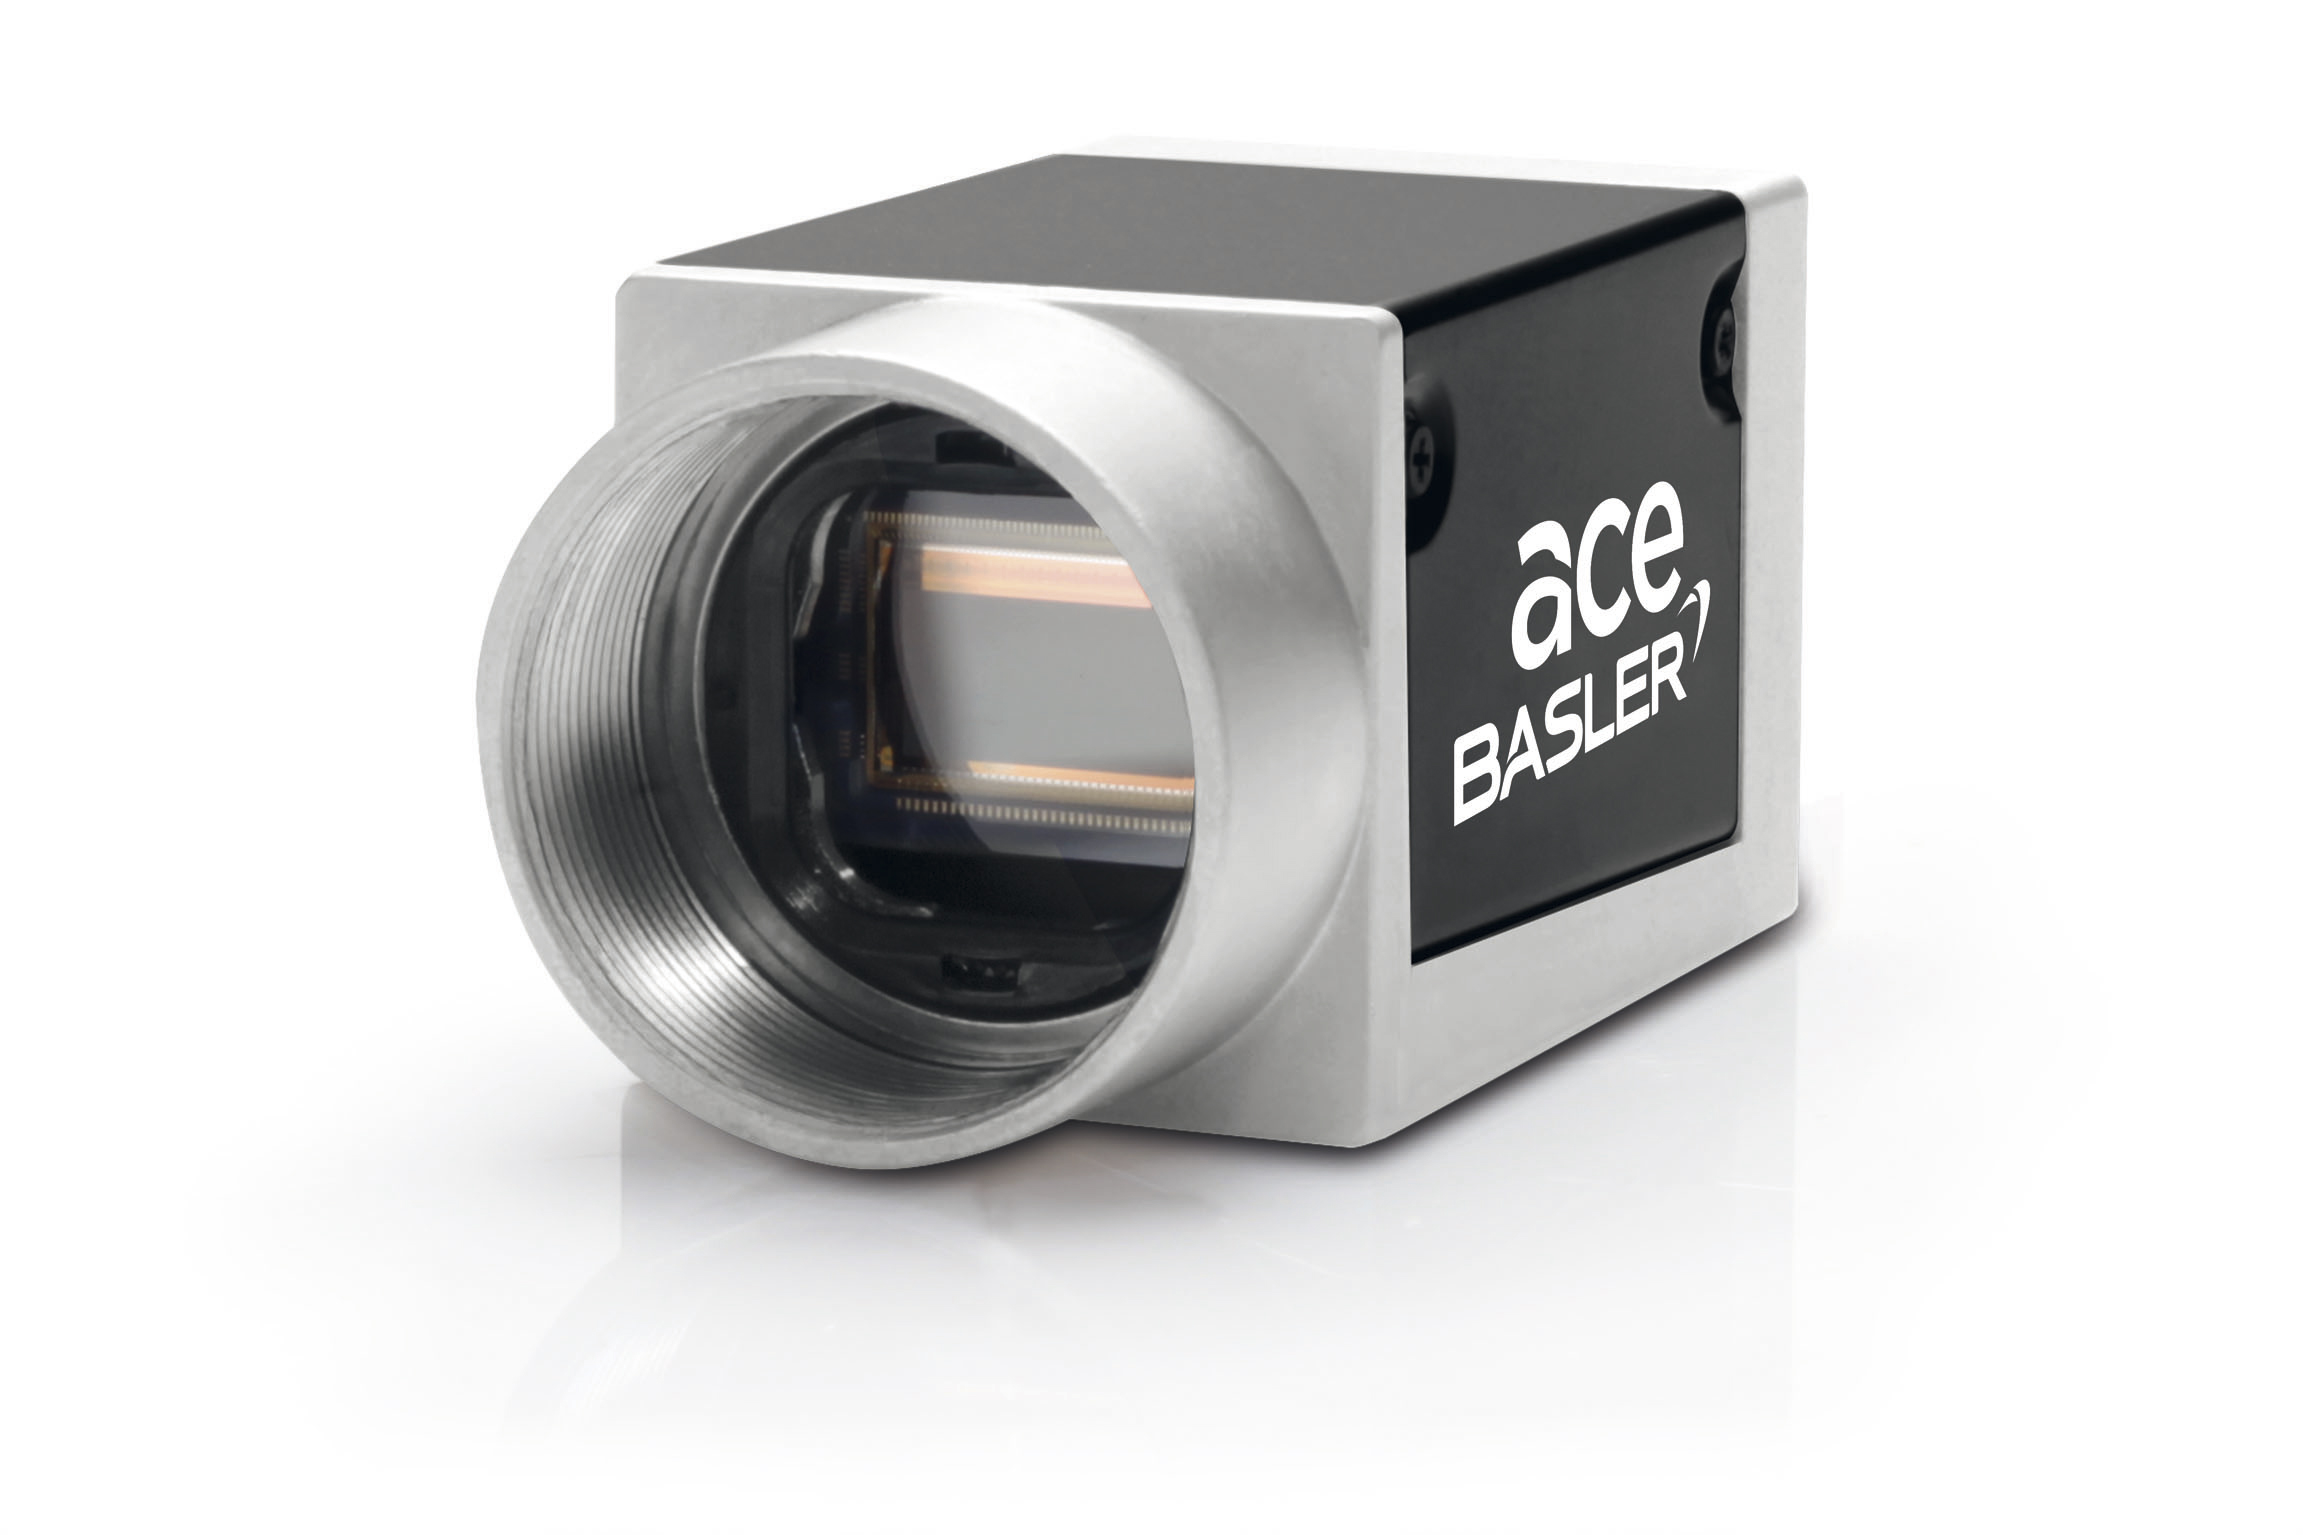
Basler Camera

ros-basler: Docker pylon-ROS-camera
Basler provides an official pylon ROS driver for Basler GigE Vision and USB3 Vision cameras. This project provides a docker wrapper for it with the extra addition of:
pylon_colour_camera_node.launch
that creates a colour node when using yuv422 image encoding.
For this installation you will require Docker and docker compose (click the links for instalation instructions)
Getting Started
First you need to clone ros-basler into your work directory with:
git clone https://github.com/ReconCycle/ros-basler.git
Navigate into the newly created ‘ros-basler’ directory
Run the container with:
docker-compose up -d
This will build the container first.
In the docker-compose.yml file, the important line is:
command: roslaunch pylon_camera pylon_colour_camera_node.launch
Camera Setup
In UserSet2 specify the following:
binning 2
output resolution (after binning) 1450 x 1450
center x and y
Camera Calibration
The pylon ROS driver can accept a camera calibration file containing the intrinsic parameters.
VERY IMPORTANT Before the next command, run xhost + on the client in order to be able to see the GUI.
Access the container with:
docker exec -it ros-basler bash
To run the calibration you will need a calibration checkerboard, you will need to specify the checkerboard parameters:
number of squares (width X height)
dimensions of the squares in metres (example: 20,1 mm is 0,0201 m)
To run the calibration on a 10x7 checkerboard with 20.1mm squares:
rosrun camera_calibration cameracalibrator.py --size 10x7 --square 0.0201 image:=/basler/image_color camera:=/basler
Read the docs for further info.
Save the calibration and copy the yaml file from the calibrationdata.tgz
paste the calibration in
ros-basler/config/In
config/colour_camera.yamlpoint it to the calibration file by adding the absolute path to the file to thecamera_info_url:line, like in this example:
camera_info_url: "file:///root/catkin_ws/src/pylon-ros-camera/pylon_camera/config/calibration_2900x2900_goe.yaml"
Extra
To save an image to a file, run:
rosrun image_view image_saver image:=/basler/image_color
This will save the latest image message on the listed topic as an image file in the curent directory
Debugging
For debugging the docker container we don’t want the camera node to launch, to prevent thet from happending we need to comment out the command: line in the docker-compose.yml file:
    network_mode: host # workaround to use the camera
    restart: "no"
    volumes:
      - config:/root/catkin_ws/src/pylon-ros-camera/pylon_camera/config
      - launch:/root/catkin_ws/src/pylon-ros-camera/pylon_camera/launch
      - /tmp/.X11-unix:/tmp/.X11-unix # for using local xserver
--> command: bash -c "(sleep 5 && rosservice call /basler/set_sleeping True) & roslaunch pylon_camera pylon_colour_camera_node.launch"
    privileged: true
Enter the container with:
docker exec -it ros-basler-camera /bin/bash
Start the driver with:
roslaunch pylon_camera pylon_colour_camera_node.launch
or
roslaunch pylon_camera pylon_camera_node.launch
GigE Cameras IP Configuration can be done using the command:
roslaunch pylon_camera pylon_camera_ip_configuration.launch
Notes
<node ns="pylon_camera_node" name="rgb_converter" pkg="image_proc" type="image_proc" >
</node>

<!-- rotate the image -->
<node ns="basler" name="image_rotator" pkg="image_rotate" type="image_rotate" >
    <param name="target_frame_id" value="" />
    <param name="target_x" value="0.0" />
    <param name="target_y" value="1.0" />
    <param name="target_z" value="0.0" />

    <param name="source_x" value="0.0" />
    <param name="source_y" value="-1.0" />
    <param name="source_z" value="0.0" />
    <remap from="image" to="/basler/image_rect_color" />
    <remap from="rotated/image" to="image_rotated" />
</node> -->

<!-- Adds a new node called image_resizer/image -->
<!-- in the remap, the to="..." should be the actual topic we want to subscribe to -->
<node pkg="nodelet" type="nodelet" name="image_resizer" args="standalone image_proc/resize">
    <param name="scale_width" type="double" value="0.5"/>
    <param name="scale_height" type="double" value="0.5"/>

    <remap from="image" to="/pylon_camera_node/image_color" />
    <remap from="camera_info" to="/pylon_camera_node/camera_info" />
</node>
Implementation Specific Notes
The Basler camera we are using is: Basler acA4600-7gc.
The camera lens we are using is: C125-0418-5M-P f4mm. The f4mm lens has an approximate effective focal length of 23mm.
In Göttingen we have the lens mounted 67cm above the work surface. This allows us to capture the entire work surface in the image. Göttingen also has the f25mm lens from Basler. All compatible lenses can be found here. The f25mm lens has an approximate effective focal length of 150mm. This means that when mounted above the table at 67cm only a small part of the work surface is in the image.
Download and install the Pylon camera software suite. Link: pylon 6.1.1 Camera Software Suite Linux x86 (64 Bit) - Debian Installer Package
To connect to the Basler camera over ethernet, create a new ethernet profile with settings:
IPv4 Method: Manual
Address: 192.168.1.200
Netmask: 255.255.255.0
Gateway: 192.168.1.1
Open the pylon viewer (on the host machine) and check that the Basler Camera appears here.
Settings to set for the Basler camera in pylon Viewer, see images in notes folder. Alternatively, do the following:
In Pylon Viewer first set Configuration Sets to Default configuration Set. Then:
In Analog Controls set
Gain Auto->Continuous, andGamma Selector->sRGB.In Image Format Controls set set
Pixel Format->YUV 422 (YUYV) Packed.In AOI Controls set
widthandheight->2900andCenter X and Y->True.In Color Improvements Control set
Balance White Auto->Continuous.In Acquisition Controls set
Exposure Auto->Continuous(this is the same as pressing the Automatic Image adjustment button I think?).
Now in Configuration Sets save to User Set 1 so that it can be loaded again easily.
For fine tuning:
In Auto Function Parameters set
Target gray Valueto50
If the FPS is very low (sub 5 fps) it could be because there is not enough light and the continuous exposure is turning up the exposure time. To fix this, open up the aperture or use more light in the room.